Tutorial setting CAMFile untuk kamera JAI LQ-200CL pada software CamEd Bitflow Carbon-CL FrameGrabber
Thursday, February 1, 2018
Wednesday, January 3, 2018
Using Vectornav VN-200 in Visual Studio .NET
1. First determine the connection parameters for connecting to the VN-100 sensor. You will need to know the following information.
- COM Port
- COM Baud Rate (factory default of sensor is 115200)
2. Open Microsoft Visual Studio and create a new project by going to the menu File → New → Project.... Select the Visual C# project template of Console Application and name the project VisualStudioUsage.
3.Browse to the location C:/Program Files/VectorNav .NET Library (or C:/Program Files (x86)/VectorNav .NET Library if you are on a 64-bit machine) and copy the files VectorNav.dll and VectorNav.xml into the directory where you saved your new Visual Studio project. Then add a reference to the assembly by right-clicking on the project icon in Visual Studio and from the context menu, select Add Reference.... The window Add Reference should now be displayed. Select the Browse tab and then browse and select the VectorNav.dll that you copied into your project folder.
4. Under the project VisualStudioUsage, open the file Program.cs. You will now need to add a using VectorNav.Devices; statement to make the library's classes easily accessible. Your code should now look like the snippet below.
5. Now we will add code statements to connect to the sensor, read data values from the sensor and display them on the screen for 10 seconds, and then disconnect from the sensor. The code to perform these steps are listed below and should be what the file Program.cs looks like.
6. Now to run the code, click the Play icon on the Visual Studio toolbar, or go to the menu Debug → Start Debugging. You should now see a console window pop-up and start displaying YawPitchRoll data from the sensor.
Tuesday, November 21, 2017
Visual Studio 2012 fatal error LNK1104: cannot open file 'clallserial.lib'
You must include your library directory in your sources; For that add path to
your project folder: Project -> Properties -> Configuration Properies
-> General -> VC++ Directories -> Include Directories and
Library Directories;


Visual Studio 2012 error MSB8020: The builds tools for v120 (Platform Toolset = 'v120') cannot be found
right-click on project name -> properties -> configuration
properties -> general -> platform toolset -> Visual Studio 2012
(v110)

 Other option is download and setup Microsoft Build Tools 2013 from
http://www.microsoft.com/en-US/download/details.aspx?id=40760
Other option is download and setup Microsoft Build Tools 2013 from
http://www.microsoft.com/en-US/download/details.aspx?id=40760


Thursday, November 9, 2017
Camera Link Camera Configuration over Frame Grabber Camera Link Serial Port
Camera Configuration within Camera Link is based on a simple asynchronous serial reading and writing of configuration data. Within the Camera Link standard specification, a serial communication interface is defined. This standardized serial interface is available on the frame grabber. It enables the interaction of a vendor specific camera configuration tool and the frame grabber specific implementation of the serial communication functionality.
In simple words: Any Camera Link compliant camera configuration software runs in combination with any Camera Link frame grabber. In this project we use Bitflow Karbon-CL Frame Grabber.
CLComm - An interface to the Camera Link serial port library.
This wraps both the standard CLAllSerial.h interface, and the BFSerial.h library, which provides various useful extensions to the core library.
To access Camera Link Serial Port cameras require a DLL file, which is supplied by the frame grabber manufacturer, to be installed on the PC. To verify this, use the PC’s registry editor (regedit) to confirm the following setting:
HKEY_LOCAL_MACHINE->SOFTWARE-> “CLSERIALPATH”.

Then, check the folder specified in the “Data” field of “CLSERIALPATH”, and verify that the folder contains a “clser***.dll” file.
Note: the file name of the DLL file is clser***.dll. “***” is up to the frame grabber manufacturer. If the DLL file does not exist there, place the DLL file into the folder. The DLL file is supplied by the frame grabber manufacturer.


Add a "CLAllSerial.NET.dll" reference to the target project, right click the project, choose "Add References" then from the "Projects" tab, choose "CLAllSerial.NET.dll" from your working directory.


To list available port using ComboBox DropDown list:

To list available baudrate ComboBox DropDown list:

Initialize the port:
Serial Receive Thread Function:
Close the Port for reading thread:

In order to use CLComm Component in the project, first add a reference to it, make sure to place the file "CLAllSerial.NET.dll" into your working directory, and set the target framework to ".NET Framework 4.5". The component "CLAllSerial.NET.dll" has compiled using ".NET Framework 4.5" so the target project must also use ".NET Framework 4.5".

Add a "CLAllSerial.NET.dll" reference to the target project, right click the project, choose "Add References" then from the "Projects" tab, choose "CLAllSerial.NET.dll" from your working directory.

If you got this error message while debugging : " Could not load file or assembly 'ManagedBid, Version=1.0.0.0, Culture=neutral, PublicKeyToken=92d16d74ab2a6c4b' or one of its dependencies. An attempt was made to load a program with an incorrect format. " , check your "target framework" setting on your property, change to ".NET Framework 4.5".

To list available port using ComboBox DropDown list:

To list available baudrate ComboBox DropDown list:

Initialize the port:
Serial Receive Thread Function:
Close the Port for reading thread:
Thursday, November 2, 2017
Cara membuat hotspot Wifi Windows 8 auto run di Start Up Program
Pertama buat file batch ( batch script, bat file atau DOS command file), simpan file di start up menu program. Lokasi foldernya biasanya di: "AppData\Roaming\Microsoft\Windows\Start Menu\Programs\Startup" .
Di Windows 8 kita tidak bisa menjalankan file *.bat sebagai administrator, kita harus mengklik kanan kemudian pilih menu "run as administrator". Cara lainnya yaitu dengan membuat shortcut file link dari file *.bat tersebut kemudian pilih property, advance property, dan centang kotak checkbox "Run as administrator"

Dalam hal ini kendala utamanya adalah semua metode diatas membutuhkan operator untuk melakukannya. Yang mana kita harus selalu melakukan metode diatas berulang ulang setiap kali booting ulang atau restart windows.
Untuk solusi dari masalah tersebut adalah dengan menambahkan beberapa baris kode program di dalam file *.bat sehingga file *.bat tersebut dapat bekerja sebagai administrator secara otomatis tanpa memerlukan instruksi tambahan dari operator ataupun file tambahan. Berikut kode perintah program yang perlu ditambahkan dibaris pertama dari file *.bat nya.
File *.bat yang diawal baris telah ditulis kode perintah program seperti diatas maka akan menjalankan program sebagai administrator. Selanjutnya tambahkan kode perintah program berikut untuk mendaftarkan hotspot wifi SSID dan passwordnya.
Keterangan:
- SSID = adalah nama hotspot yang diinginkan, silahkan dirubah sesuai keinginan
- KEY = password atau security key dari hotspot yg dibuat
Apabila kode perintah sukses, maka respon dari OS adalah sebagai berikut.
Selanjutnya untuk mengaktifkan hotspot wifi yang telah didaftarkan diatas, tambahkan kode perintah program berikut.
Apabila kode perintah sukses, maka respon dari OS adalah sebagai berikut.
Kode perintah lengkapnya adalah sebagai berkut, selanjutnya simpan file dengan nama bebas, gunakan extension bat, dan taruh di dalam folder "AppData\Roaming\Microsoft\Windows\Start Menu\Programs\Startup" agar pada saat windows start program batch ini akan langsung dieksekusi.
Selanjutnya lakukan setting untuk mengaktifkan Sharing Internet Connection pada Windows 8. Buka Control Panel > Network and Sharing Center.

Selanjutnya klik "Change Adapter Setting" di pojok kiri atas, untuk melihat Semua koneksi network yang tersedia di komputer, termasuk koneksi hotspot yang telah dibuat sebelumnya.

Seperti dilihat pada screenshoot gambar diatas, hotspot yang baru dibuat dikenali sebagai "Local Area Connection* 4", dengan nama SSID adalah "AirborneCamHotSpot". Sekarang tinggal dipilih dari koneksi internet mana yang mau di share ke jaringan "Local Area Connection* 4". Bisa share internet dari Modem USB , Ethernet LAN ataupun dari WiFi luar.
Klik kanan pada koneksi network yang terhubung Internet (saat ini yang dicoba adalah dari Ethernet LAN yang terhubung dengan jaringan Internet Indihome SPEEDY), kemudian pilih property, klik tab "Sharing", dan kemudian centang checklist "Allow other network users to connect through this computer's Internet connection".
Kemudian pilih "Home networking Connection:" sesuai LAN hotspot yang telah dibuat tadi, yaitu: "Local Area Connection* 4". Selanjutnya centang juga cheklist "Allow other network users to control or disable the shared Internet connection) dan klik OK.

Dan selesai sudah semua, hotspot WiFi anda sudah siap diakses dari perangkat lain. Untuk mengeceknya silahkan cari dan coba sambungkan hotspot yang telah dibuat tadi dari WiFi Smartphone anda atau dari Laptop disekitar anda.
Monday, June 5, 2017
Alat pengisi sosis / mesin pencetak sosis manual bahan stainless steel
Alat pengisi sosis / mesin pencetak sosis manual bahan stainless steel

Mesin Pencetak Sosis
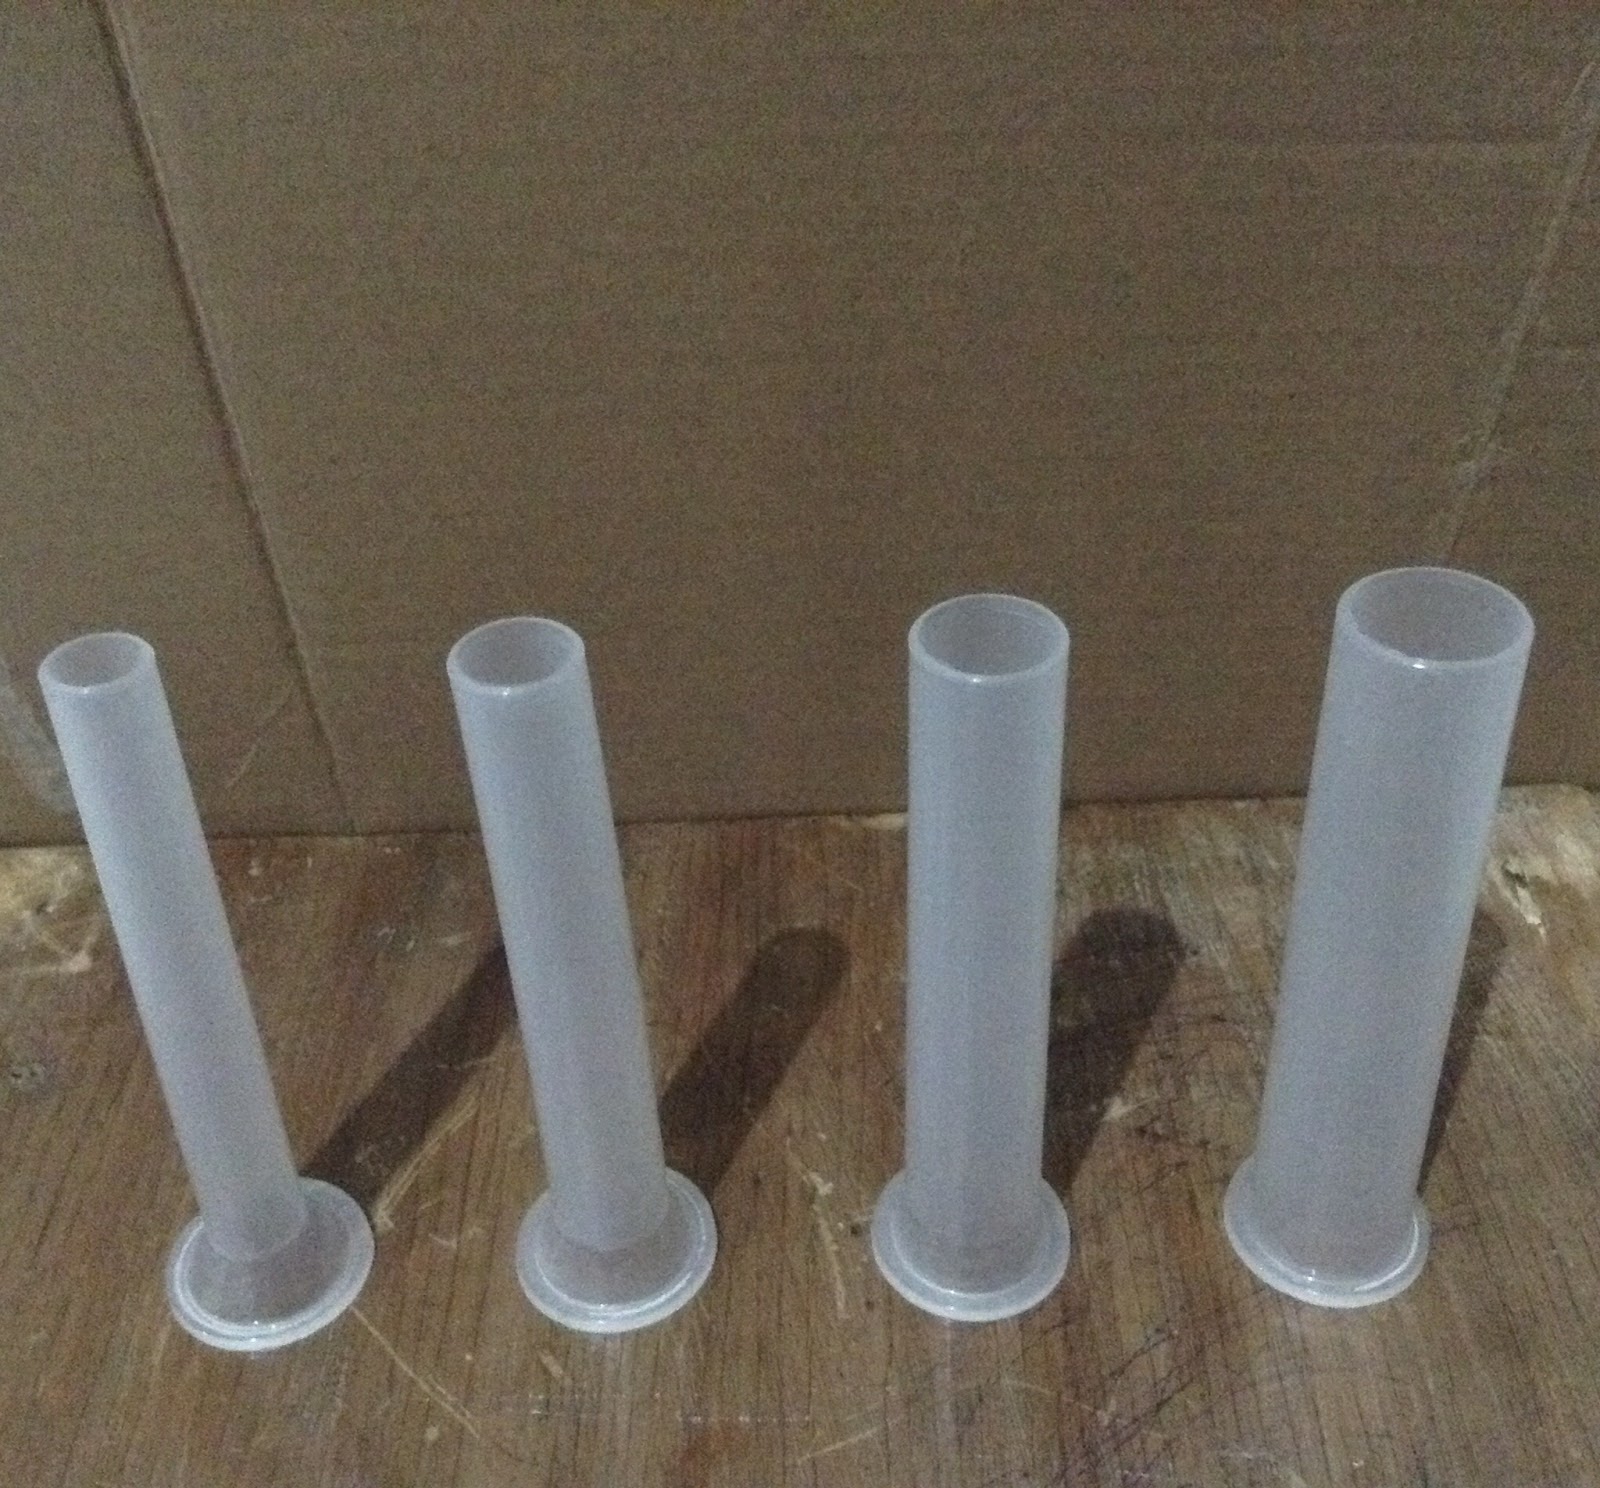
mesin ini digunakan untuk mencetak adonan sosis secara manual tanpa menggunakan listrik, anda akan mendapatkan 4 ukuran diameter sosis yaitu : 15mm, 18mm, 22mm dan 28 mm.
sangat cocok digunakan untuk para pemula bisnis sosis maupun hanya digunakan untuk rumahan saja.


fitur mesin cetak sosis :
- body stainless steel sehingga aman untuk produk makanan
- terdapat 4 type ukuran cetak sosis
- manual hydrolic
Spesifikasi:
- Corong berbahan plastik
- Material barrel length: 49cm
- Tank diameter: 12.5cm
- About weight: 4.5 kg
- Capacity: 4liter / 4 kg
- Body (drums) Material: Stainless Steel 304
- Base and mounting bracket Material: Stainless Steel 304
Hubungi:
Email/YM : nugroho_w_jatmiko@yahoo.com
Whatsapp : Order Alat pengisi sosis / mesin pencetak sosis manual bahan stainless steel
Tokopedia: Alat pengisi sosis / mesin pencetak sosis manual bahan stainless steel
Subscribe to:
Comments (Atom)